最新发布
排序

Netflix,hulu,primevideo,HBO,MAX,YOUTUIBE在线AI翻译字幕插件
最近发现了一个在线视频翻译插件,非常的好用,推荐给小伙伴,你就可以在线观看没有中文字幕的视频了,功能点基本翻译Netflix 视频支持Lynda 视频支持Hbo now 视频支持Hbo max 视频支持Hulu 视...
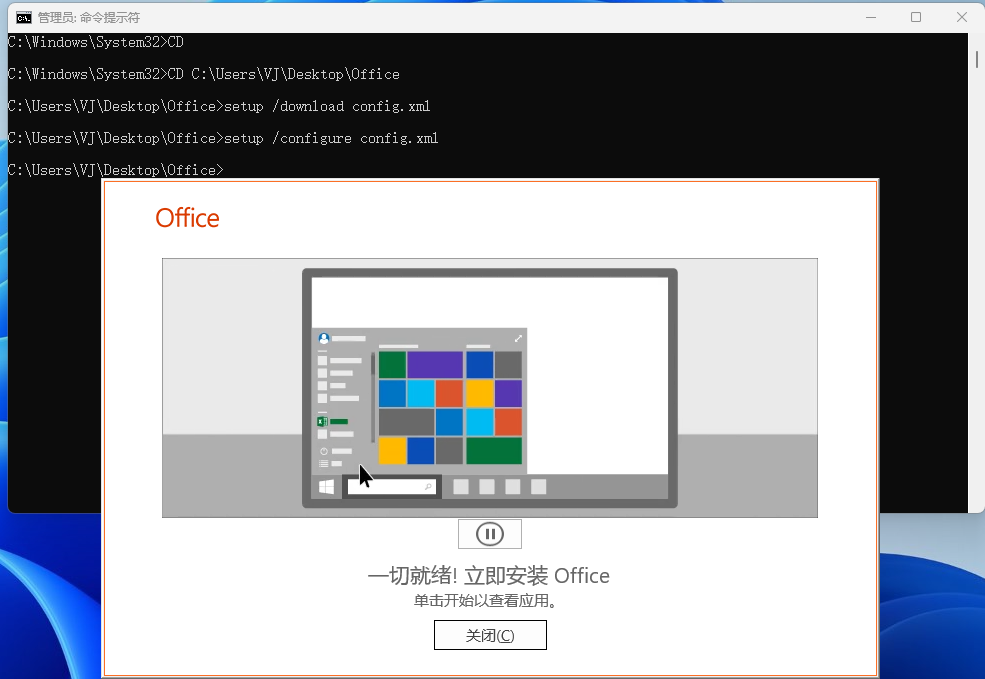
免费安全获取下载官方—Office(VOL版)软件?附KMS激活方案。
一:.office 软件部署工具:https://www.microsoft.com/en-us/download/details.aspx?id=49117创建一个“Office”文件夹。把上边下载的工具安装到这“office'文件夹里。二:.office 版本自定义...

搭建基于 QUIC 的协议之——- TUIC(v4 v5)
QUIC 协议汲取了大量人们给 TCP 糊墙的经验教训,把连接结构优化到(目前来看)极致。但是现在市面上的代理工具还没有能完全利用 QUIC 特性的存在,所以别人动手写了一个基于 QUIC 协议的新代理...
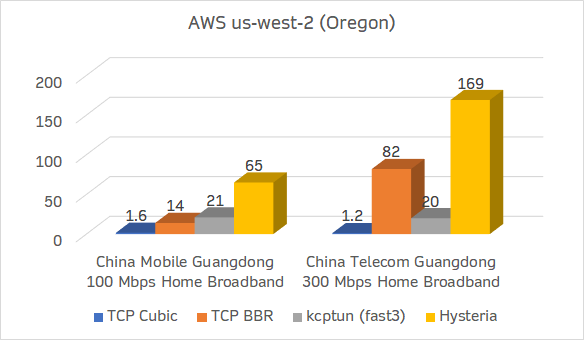
专为恶劣网络环境优化的工具新王者–QUIC 协议之Hysteria1-2
Hysteria 是一个功能丰富的,专为恶劣网络环境进行优化的网络工具(双边加速),比如卫星网络、拥挤的公共 Wi-Fi、在中国连接国外服务器等。 基于修改版的 QUIC 协议。目前有以下模式:(仍在增...

加密货币交易法则认知—–转载知乎不二哥
从交易者的层面来看,我一般把他们分为这么几类人: 一,幼儿园阶段:无知者无畏 这种人没做过交易,只是从朋友那里听说,交易能赚大钱,或者是书刊杂志上读了一些交易大师的成功学传记,然后就...
手动更新WordPress和插件
通过ssh命令操作起来也简单,不过新手可能不是很熟练,操作的要好谨慎。 下面已LNMP一键包安装的环境演示,具体命令如下: cd /home/wwwroot/website 上面的website替换成你自己网站的文件夹。 ...

aapanel宝塔面板
优点:海外版免登录官网地址:aapanelyum install -y wget && wget -O install.sh http://www.aapanel.com/script/install_6.0_en.sh && bash install.sh aapanel中文汉化:aap...

关于虚拟货币U卡注意事项
现在无论是炒币出金还是网D提现,银行卡被冻结的几率已经很高了。 昨日,某易交易所的币商都在跟天机抱怨,说在某易做币商太容易冻卡了,自己已被冻结数张银行卡,想转到水必做商家。 作为三大...

十大最安全冷钱包排名
十大最安全冷钱包排名 为了确保我们的读者在时刻放心自已加密资产的安全,我们编制了这份最佳加密冷钱包列表. Ledger Nano X –整体最佳冷钱包 Trezor –知名的硬件钱包制造商 Atomic Wallet ...
Shadowsocks
yum -y install wget #CentOS sudo apt-get install wget #Debian/Ubuntu wget --no-check-certificate -O shadowsocks-all.sh https://raw.githubusercontent.com/teddysun/shadowsocks_instal...
本站推荐


标签云